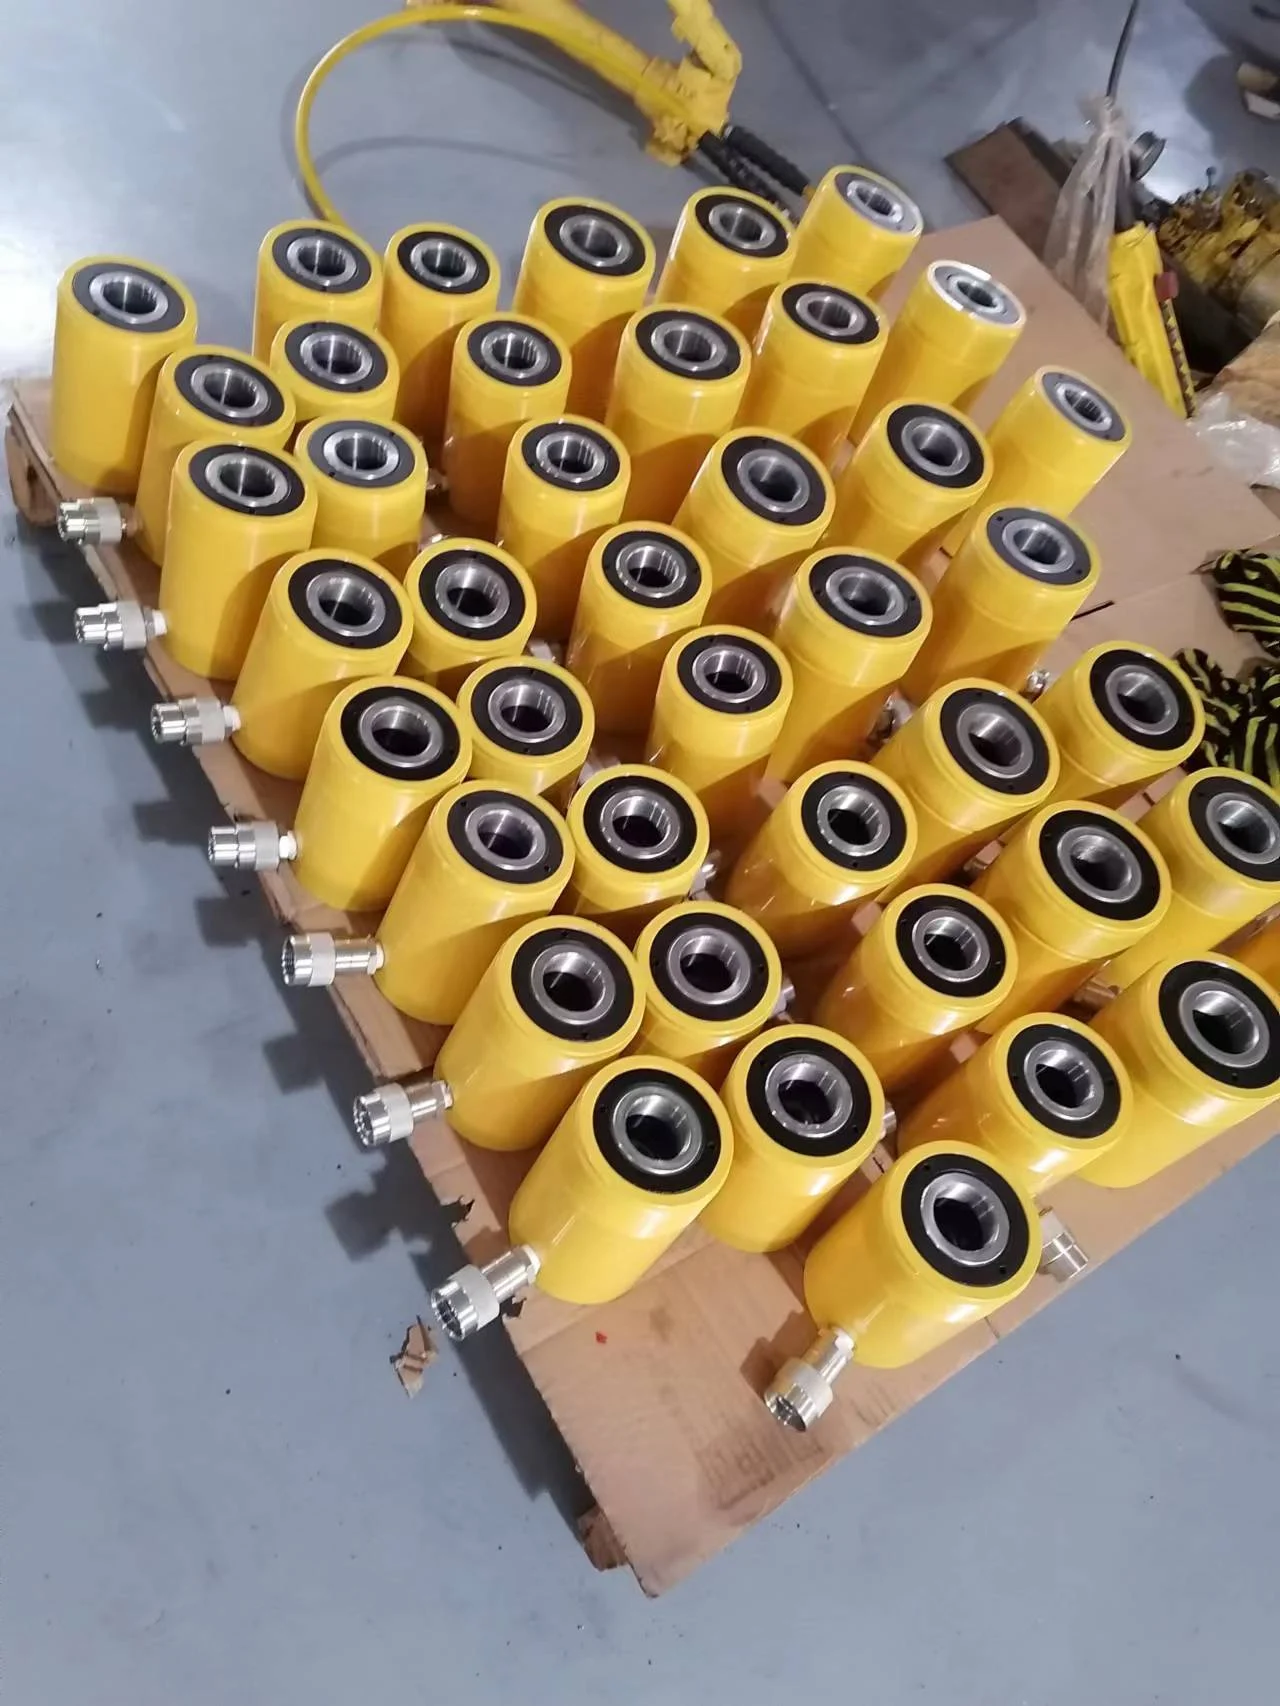
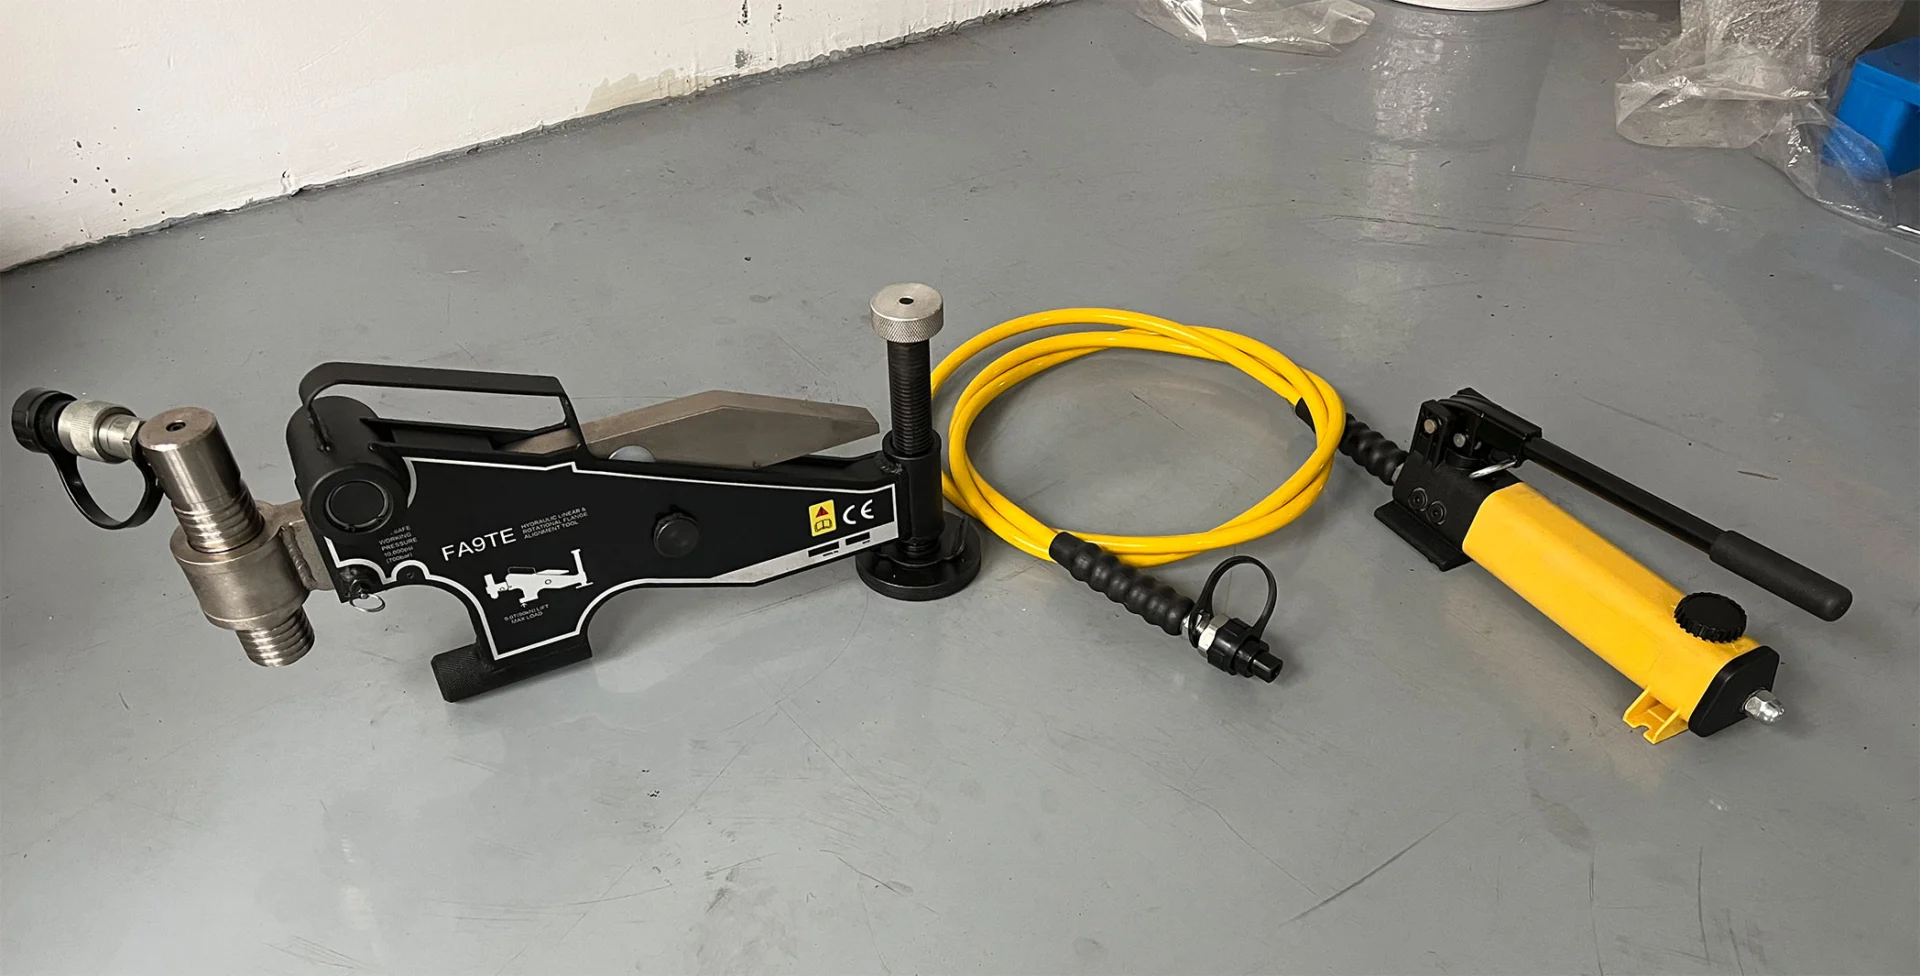
Leaks in hydraulic cylinders can be a nuisance for the average homeowner or professional. They can lead to decreased efficiency, higher maintenance costs, and even major system damage if left unchecked. Fortunately, fixing a leaky hydraulic cylinder is usually a straightforward process if you have the right tools and knowledge. This article will provide a comprehensive guide on how to identify the source of a leak, what materials you need, and how to properly repair your hydraulic cylinder.
Safety Measures
Firstly, before attempting to fix a leaky hydraulic cylinder, it is important to ensure that you are following all necessary safety measures. This includes wearing protective gear such as gloves and goggles, ensuring the machine is turned off and the power source disconnected, and relieving any pressure in the system.
Identifying the Leak Source
One of the first steps in fixing a leaky hydraulic cylinder is identifying the source of the problem. The leak could be caused by a damaged seal, which can be identified by oil residue around the seal area. If this is the case, replacing the seal is usually necessary. Another potential cause of leaks is damage to the piston rod or cylinder barrel. A visual inspection can help identify any scratches or dents that may be causing leaks.
It’s important to note that identifying a leak source may not always be straightforward. Some leaks are caused by multiple issues at once, and it can take some troubleshooting to determine what needs to be fixed. In these cases, professionals with experience in hydraulic systems may need to step in and diagnose and repair the issue.
Overall, identifying and repairing a leak source is an essential part of fixing a leaky hydraulic cylinder. By addressing this issue promptly and accurately, you can avoid further damage to your machinery and ensure that it continues running smoothly for years to come.
Removing the Cylinder
Removing a cylinder from your hydraulic system can be a daunting task, but it is necessary if you want to fix a leaky cylinder. Before removing the cylinder, ensure that you have all the necessary tools and equipment. You will need wrenches, pliers, a socket set, and possibly a hoist if the cylinder is too heavy to lift manually.
The first step in removing the cylinder is to locate it within your hydraulic system. Once you have located it, turn off all valves leading into or out of the cylinder. This will prevent any fluid from leaking out when you remove the hoses or fittings.
Next, use your wrenches or pliers to disconnect any hoses or fittings connected to the cylinder. Be sure to place a container underneath the hoses to catch any remaining fluid that may come out during disconnection. After all hoses are disconnected, use your socket set or wrenches to remove any bolts holding the cylinder in place.
Once all bolts are removed, carefully lift and remove the cylinder from its position in your hydraulic system. Be sure not to damage any surrounding components as you do so. Now that you have removed your leaky hydraulic cylinder from your system, it’s time for repairs!
Cleaning and Replacing Parts
One common cause of a leaky hydraulic cylinder is damaged or worn-out seals. To fix this issue, the affected part must be thoroughly cleaned and the damaged seal removed. After removing the damaged seal, inspect the piston rod for any signs of damage or wear as well.
Once you have confirmed that there is no damage to the piston rod, replace it with a new one. Before installation, ensure that all surfaces are free from dirt or debris that could cause further damage to your equipment.
After making sure everything is clean and in good condition, carefully attach the new seal onto the cylinder’s groove using an O-ring tool. Apply some lubricant on both sides of the seal before reattaching it on its original position. Once done, test your equipment to confirm if there are still leaks present. If necessary, repeat these steps until you achieve a successful repair job.
Reinstalling Cylinder
First, start by removing the hydraulic cylinder from the equipment. Once removed, clean the cylinder and inspect it for any visible damage or wear. If there is extensive damage or wear, it may be necessary to replace the entire cylinder. However, if the damage is minimal, you can reinstall the cylinder with new seals to fix any leaks.
Before reinstalling, make sure to lubricate all O-rings and seals with a compatible lubricant to ensure proper sealing and prevent future leaks. Ensure that all bolts are tightened properly to avoid any further leakage.
When installing new seals or O-rings, be sure they are installed in their correct location and orientation as specified by the manufacturer. Improper installation can cause premature failure of the seal leading to further leakage.
Overall, reinstalling a hydraulic cylinder requires patience and attention to detail. It’s important not to rush through this process as small mistakes can lead to big problems down the road.
Conclusion: Maintenance Tips
In conclusion, regular maintenance is crucial to keep your hydraulic cylinder in optimal condition. One important tip for maintaining your hydraulic system is to regularly check and change the fluid. Hydraulic fluid is the lifeblood of your system, and if it gets contaminated or degrades over time, it can cause significant damage. Always use the manufacturer’s recommended fluid and follow their guidelines on changing intervals.
Another important maintenance tip is to inspect all components of the hydraulic system regularly. Check for any signs of wear or damage such as leaks, loose fittings or cracks in hoses. If you notice any issues, address them immediately before they become bigger problems that could result in downtime.
Finally, keep a logbook for scheduled maintenance tasks and repairs done on your hydraulic cylinder. This way, you can keep track of when a specific part was last serviced or replaced and plan accordingly for future maintenance needs. By implementing these simple tips into your routine maintenance procedures, you can ensure that your hydraulic cylinder continues to perform at its best and minimize downtime due to unexpected failures or breakdowns.


